学习c++与其他语言一个不同之处就是, 你可能不能很快地构建一些有趣的项目.
这时你可能会转向Rust作为代餐,享受安全系统编程语言带来的性能,同时也有一些高级语言所有的强大标准库.或者你也有可能转向Java,C#等更加具有高级应用生态的语言,利用自带的标准库以及强大的三方生态,快速构建性能并不算差的应用. 这里,我简单介绍一下可以使用c++的框架/库以便play for fun.
c++常见的开发系统/底层应用主要方向就是1)图形学 2)网络 3) 存储 4)高性能计算
这里面作为应用开发比较有趣的可能就是利用网络通信再加上图形绘制的游戏开发了. 事实上c++中游戏开发的大佬还是很多的. 作为学习者来说也有许多这方面的库/框架
较为底层的图形学接口
OpenGL
OpenGL - The Industry Standard for High Performance Graphics
主页 - LearnOpenGL CN (learnopengl-cn.github.io)
OpenGL是一个图形API,它是跨平台的,使用c++. 我觉得这里并不需要过多介绍
Vulkan,Dir等也类似.
封装后的UI
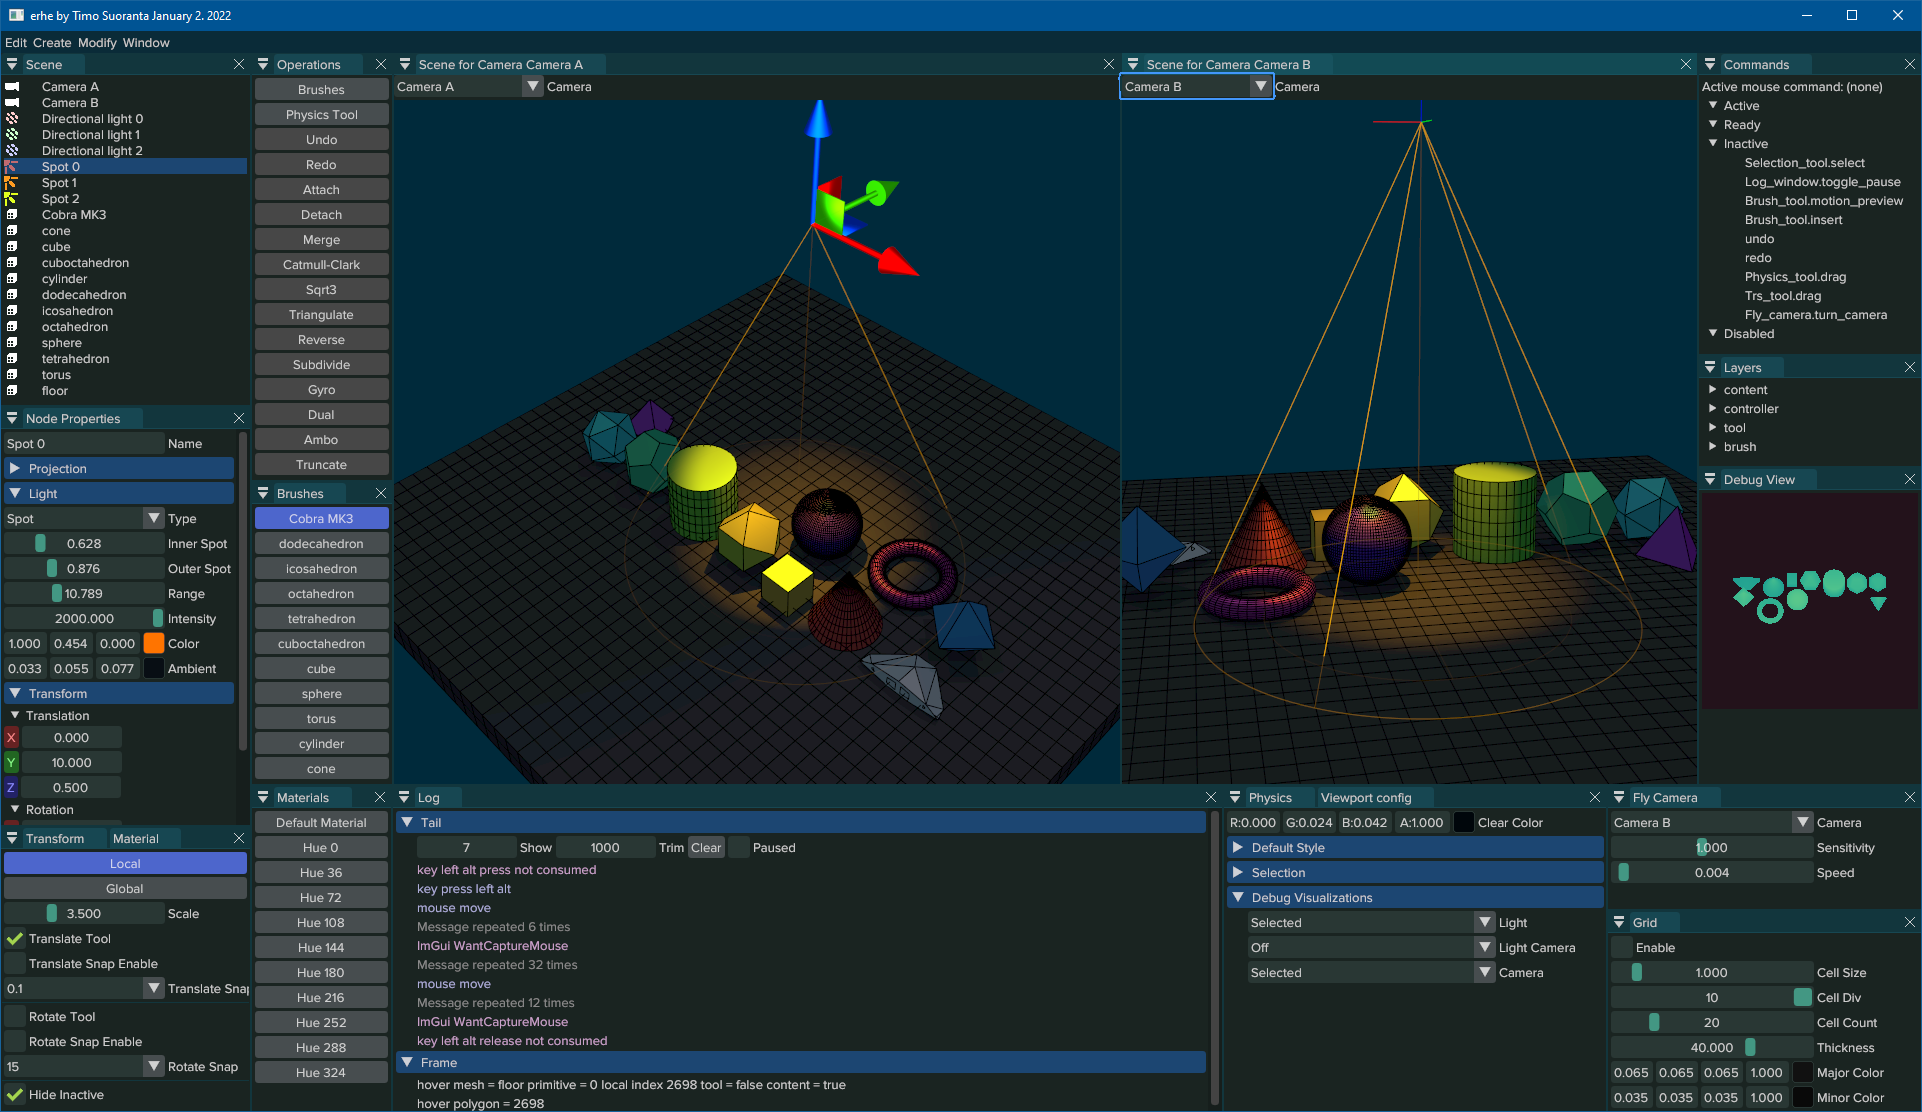
Dear ImGUI
Dear ImGui是一个c++图形用户界面库.它输出优化的顶点缓冲区,可以在启用3d管道的应用程序中随时渲染。它快速、可移植、与渲染器无关,并且是自包含的(没有外部依赖)
这个库需要你格外安装图形学API与窗口管理工具,比如OpenGL+GLFW.之前我写过简单的搭建教程Dear-ImGUI:不太一样的GUI | Sekyoro的博客小屋.1
2
3
4
5
6
7
8
9
10
11
12
13
14
15
16
17
18
19
20
21
22
23
24
25
26
27
28
29
30
31
32
33
34
35
36
37
38
39
40
41
42
43
44
45
46
47
48
49
50
51
52
53
54
55
56
57
58
59
60
61
62
63
64
65
66
67
68
69
70
71
72
73
74
75
76
77
78
79
80
81
82
83
84
85
86
87
88
89
90
91
92
93
94
95
96
97
98
99
100
101
102
103
104
105
106
107
108
109
110
111
112
113
114
115
static void glfw_error_callback(int error, const char *description) {
fprintf(stderr, "GLFW Error %d: %s\n", error, description);
}
int main() {
// Setup Dear ImGui context
glfwSetErrorCallback(glfw_error_callback);
if (!glfwInit())
return 1;
const char *glsl_version = "#version 130";
glfwWindowHint(GLFW_CONTEXT_VERSION_MAJOR, 3);
glfwWindowHint(GLFW_CONTEXT_VERSION_MINOR, 0);
GLFWwindow *window = glfwCreateWindow(
1280, 720, "Dear ImGui GLFW+OpenGL3 example", nullptr, nullptr);
if (window == nullptr)
return 1;
glfwMakeContextCurrent(window);
glfwSwapInterval(1); // Enable vsync
IMGUI_CHECKVERSION();
// initialize
ImGui::CreateContext();
ImGuiIO &io = ImGui::GetIO();
io.ConfigFlags |=
ImGuiConfigFlags_NavEnableKeyboard; // Enable Keyboard Controls
io.ConfigFlags |=
ImGuiConfigFlags_NavEnableGamepad; // Enable Gamepad Controls
// io.ConfigFlags |= ImGuiConfigFlags_DockingEnable; // IF using Docking
// Branch
// Setup Platform/Renderer backends
ImGui_ImplGlfw_InitForOpenGL(
window, true); // Second param install_callback=true will install
// GLFW callbacks and chain to existing ones.
ImGui_ImplOpenGL3_Init();
bool show_demo_window{true};
bool show_another_window{false};
ImVec4 clear_color = ImVec4(0.45f, 0.55f, 0.60f, 1.00f);
// (Your code calls glfwPollEvents())
// ...
// Start the Dear ImGui frame
while (!glfwWindowShouldClose(window)) {
// Poll and handle events (inputs, window resize, etc.)
// You can read the io.WantCaptureMouse, io.WantCaptureKeyboard flags to
// tell if dear imgui wants to use your inputs.
// - When io.WantCaptureMouse is true, do not dispatch mouse input data to
// your main application, or clear/overwrite your copy of the mouse data.
// - When io.WantCaptureKeyboard is true, do not dispatch keyboard input
// data to your main application, or clear/overwrite your copy of the
// keyboard data. Generally you may always pass all inputs to dear imgui,
// and hide them from your application based on those two flags.
glfwPollEvents();
if (glfwGetWindowAttrib(window, GLFW_ICONIFIED) != 0) {
ImGui_ImplGlfw_Sleep(10);
continue;
}
// at the begining of the frame
ImGui_ImplOpenGL3_NewFrame();
ImGui_ImplGlfw_NewFrame();
ImGui::NewFrame();
// ImGui::ShowDemoWindow(); // Show demo window! :)
static float f = .0f;
static int counter = 0;
ImGui::Begin("Hello, world!");
ImGui::Text("This is some useful text.");
ImGui::Checkbox("Demo Window", &show_demo_window);
ImGui::Checkbox("Another Window", &show_another_window);
ImGui::SliderFloat("float", &f, .0f, 1.f);
ImGui::ColorEdit3("clear color", (float *)&clear_color);
if (ImGui::Button("Button")) {
counter++;
}
ImGui::SameLine();
ImGui::Text("counter = %d", counter);
ImGui::Text("Application average %.3f ms/frame (%.1f PFS)",
1000.0f / io.Framerate, io.Framerate);
ImGui::End();
if (show_another_window) {
ImGui::Begin(
"Another Window",
&show_another_window); // Pass a pointer to our bool variable (the
// window will have a closing button that will
// clear the bool when clicked)
ImGui::Text("Hello from another window!");
if (ImGui::Button("Close Me"))
show_another_window = false;
ImGui::End();
}
//// Rendering
// (Your code clears your framebuffer, renders your other stuff etc.)
ImGui::Render();
int display_w, display_h;
glfwGetFramebufferSize(window, &display_w, &display_h);
glViewport(0, 0, display_w, display_h);
glClearColor(clear_color.x, clear_color.y, clear_color.z, clear_color.w);
glClear(GL_COLOR_BUFFER_BIT);
ImGui_ImplOpenGL3_RenderDrawData(ImGui::GetDrawData());
glfwSwapBuffers(window);
}
// Cleanup
ImGui_ImplOpenGL3_Shutdown();
ImGui_ImplGlfw_Shutdown();
ImGui::DestroyContext();
}
Rust也有类似作用的eguiemilk/egui: egui: an easy-to-use immediate mode GUI in Rust that runs on both web and native (github.com)
raylib
raylib | A simple and easy-to-use library to enjoy videogames programming
看到有人推荐没过几天我就看到很多使用它开发的小东西. 官网说主要用于vediogames的开发(跟使用imgui的目的类似).
个人使用体验比imgui更舒服,因为实际上使用imgui需要调用opengl/vulkan的接口,这些接口命名太傻逼了而且使用更繁琐.1
2
3
4
5
6
7
8
9
10
11
12
13
14
15
16
17
18
19
20
21
int main() {
std::cout << "Hello, World!" << std::endl;
const int screenWidth = 800;
const int screenHeight = 450;
InitWindow(screenWidth, screenHeight, "raylib [core] example - basic window");
SetTargetFPS(60);
while (!WindowShouldClose()) {
BeginDrawing();
ClearBackground(RAYWHITE);
DrawText("Congrats! You created your first window!", 190, 200, 20,
LIGHTGRAY);
EndDrawing();
}
CloseWindow();
return 0;
}
更加高级的跨平台应用开发
SDL
Simple DirectMedia Layer - Homepage (libsdl.org)
SDL2/Tutorials - SDL Wiki (libsdl.org)
SDL本身是跨平台的多媒体库,使用c++与音视频设备交互. 目前最新是SDL3.0版本了,本身使用c编写,也经常用来写小游戏.
SDL有对应的网络库libsdl-org/SDL_net: A simple, cross-platform wrapper over TCP/IP sockets. (github.com)
SFML
与SDL类似,但个人觉得API更简洁更易于使用
关于两者的讨论sfml vs sdl2 .. which one should i choose? : r/gamedev (reddit.com)
这两者都不止是简单的图形接口了,提供音频和网络模块方便使用
功能强大的框架
WinUI3 期待
借助微软的力量WinUI 3 - Windows apps | Microsoft Learn
使用WinUI开发windows应用,缺点是不能跨平台,并且微软已经有了很多桌面开发框架了,WPF,MAUI,UWP?等等,不知道这个框架能够一直积极维持多久.
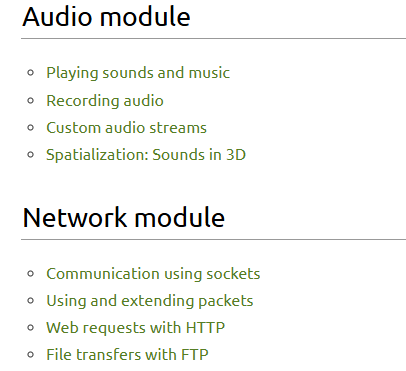
Qt 不只是UI
Qt是跨平台桌面?(目前Qt也支持了安卓开发)开发工具.目前已经到了6.0+,除了使用widget之外,针对移动端的Qt quick也发展得不错. 除了UI之外,它还有网络库,图形渲染等常用的库. 甚至可以说Qt的一些库都能拿来代替c++贫瘠的标准库了
Qt不仅可以进行桌面应用开发,也可以拿来开发游戏.
至尊C++游戏开发
实战raylib
个人使用上感觉raylib->Qt->UE从简易到复杂,功能也越来越多. 而imgui还是功能更少. 下面就介绍一下raylib写点小东西学习学习.

1
2
3
4
5
6
7
8
9
10
11
12
13
14
15
16
17
18
19
20
21
22
23
24
25
26
27
28
29
30
31
32
33
34
35
36
37
38
39
40
41
42
43
44
45
46
47
48
49
50
51
52
53
54
55
56
57
58
59
60
61
62
63
64
65
66
67
68
69
70
71
72
73
74
75
76
77
78
79
80
81
82
83
84
85
86
87
88
89
90
91
92
93
94
95
96
97
98
99
100
101
102
103
104
105
106
107
108
109
110
111
112
113
114
115
116
117
118
119
120
121
122
123
124
125
126
127
128
129
130
131
132
133
134
135
136
137
138
//------------------------------------------------------------------------------------------
// Types and Structures Definition
//------------------------------------------------------------------------------------------
typedef enum GameScreen { LOGO = 0, TITLE, GAMEPLAY, ENDING } GameScreen;
//------------------------------------------------------------------------------------
// Program main entry point
//------------------------------------------------------------------------------------
int main(void)
{
// Initialization
//--------------------------------------------------------------------------------------
const int screenWidth = 800;
const int screenHeight = 450;
InitWindow(screenWidth, screenHeight, "raylib [core] example - basic screen manager");
GameScreen currentScreen = LOGO;
// TODO: Initialize all required variables and load all required data here!
int framesCounter = 0; // Useful to count frames
SetTargetFPS(60); // Set desired framerate (frames-per-second)
//--------------------------------------------------------------------------------------
// Main game loop
while (!WindowShouldClose()) // Detect window close button or ESC key
{
// Update
//----------------------------------------------------------------------------------
switch(currentScreen)
{
case LOGO:
{
// TODO: Update LOGO screen variables here!
framesCounter++; // Count frames
// Wait for 2 seconds (120 frames) before jumping to TITLE screen
if (framesCounter > 120)
{
currentScreen = TITLE;
}
} break;
case TITLE:
{
// TODO: Update TITLE screen variables here!
// Press enter to change to GAMEPLAY screen
if (IsKeyPressed(KEY_ENTER) || IsGestureDetected(GESTURE_TAP))
{
currentScreen = GAMEPLAY;
}
} break;
case GAMEPLAY:
{
// TODO: Update GAMEPLAY screen variables here!
// Press enter to change to ENDING screen
if (IsKeyPressed(KEY_ENTER) || IsGestureDetected(GESTURE_TAP))
{
currentScreen = ENDING;
}
} break;
case ENDING:
{
// TODO: Update ENDING screen variables here!
// Press enter to return to TITLE screen
if (IsKeyPressed(KEY_ENTER) || IsGestureDetected(GESTURE_TAP))
{
currentScreen = TITLE;
}
} break;
default: break;
}
//----------------------------------------------------------------------------------
// Draw
//----------------------------------------------------------------------------------
BeginDrawing();
ClearBackground(RAYWHITE);
switch(currentScreen)
{
case LOGO:
{
// TODO: Draw LOGO screen here!
DrawText("LOGO SCREEN", 20, 20, 40, LIGHTGRAY);
DrawText("WAIT for 2 SECONDS...", 290, 220, 20, GRAY);
} break;
case TITLE:
{
// TODO: Draw TITLE screen here!
DrawRectangle(0, 0, screenWidth, screenHeight, GREEN);
DrawText("TITLE SCREEN", 20, 20, 40, DARKGREEN);
DrawText("PRESS ENTER or TAP to JUMP to GAMEPLAY SCREEN", 120, 220, 20, DARKGREEN);
} break;
case GAMEPLAY:
{
// TODO: Draw GAMEPLAY screen here!
DrawRectangle(0, 0, screenWidth, screenHeight, PURPLE);
DrawText("GAMEPLAY SCREEN", 20, 20, 40, MAROON);
DrawText("PRESS ENTER or TAP to JUMP to ENDING SCREEN", 130, 220, 20, MAROON);
} break;
case ENDING:
{
// TODO: Draw ENDING screen here!
DrawRectangle(0, 0, screenWidth, screenHeight, BLUE);
DrawText("ENDING SCREEN", 20, 20, 40, DARKBLUE);
DrawText("PRESS ENTER or TAP to RETURN to TITLE SCREEN", 120, 220, 20, DARKBLUE);
} break;
default: break;
}
EndDrawing();
//----------------------------------------------------------------------------------
}
// De-Initialization
//--------------------------------------------------------------------------------------
// TODO: Unload all loaded data (textures, fonts, audio) here!
CloseWindow(); // Close window and OpenGL context
//--------------------------------------------------------------------------------------
return 0;
}
raylib example source code
